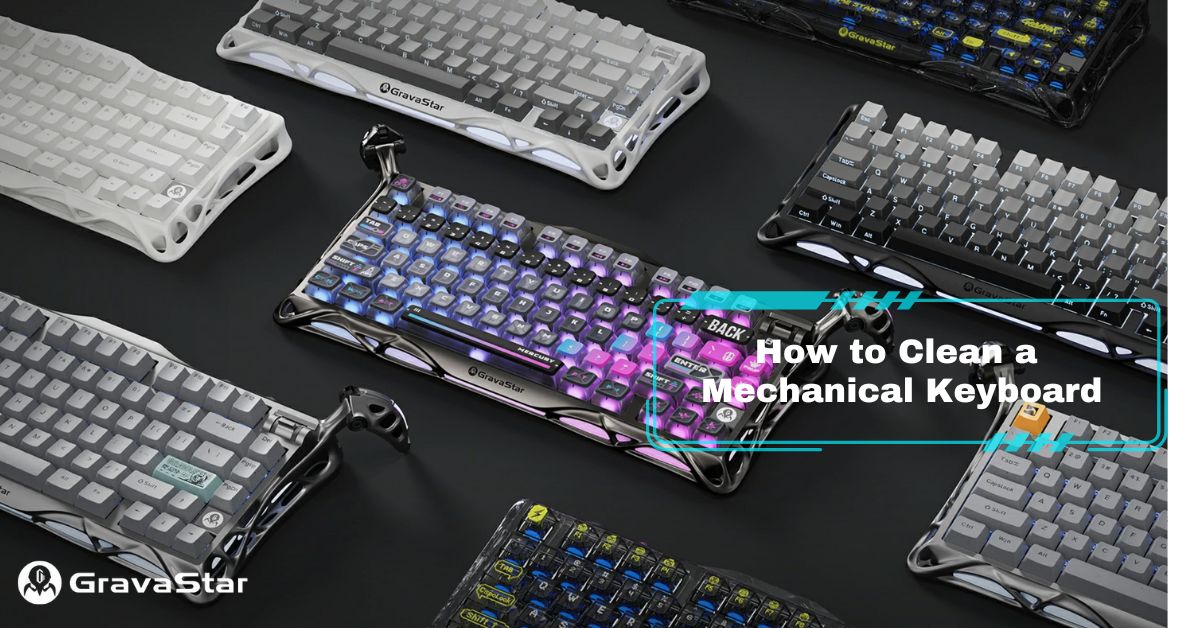
How to Clean a Mechanical Keyboard
Mechanical keyboards are beloved by gamers, programmers, writers, and anyone else who spends a lot of time at the computer. But all that time in front of the keyboard inevitably makes it dirty, and nobody wants to spend their whole day touching a filthy keyboard.
In this how-to guide, I'll explain why cleaning your mechanical keyboard is important and show you how to keep it looking and typing like new. I'll discuss some common cleaning problems, how to avoid them, and what to do if your keyboard still isn't performing its best.
What is a Mechanical Keyboard?
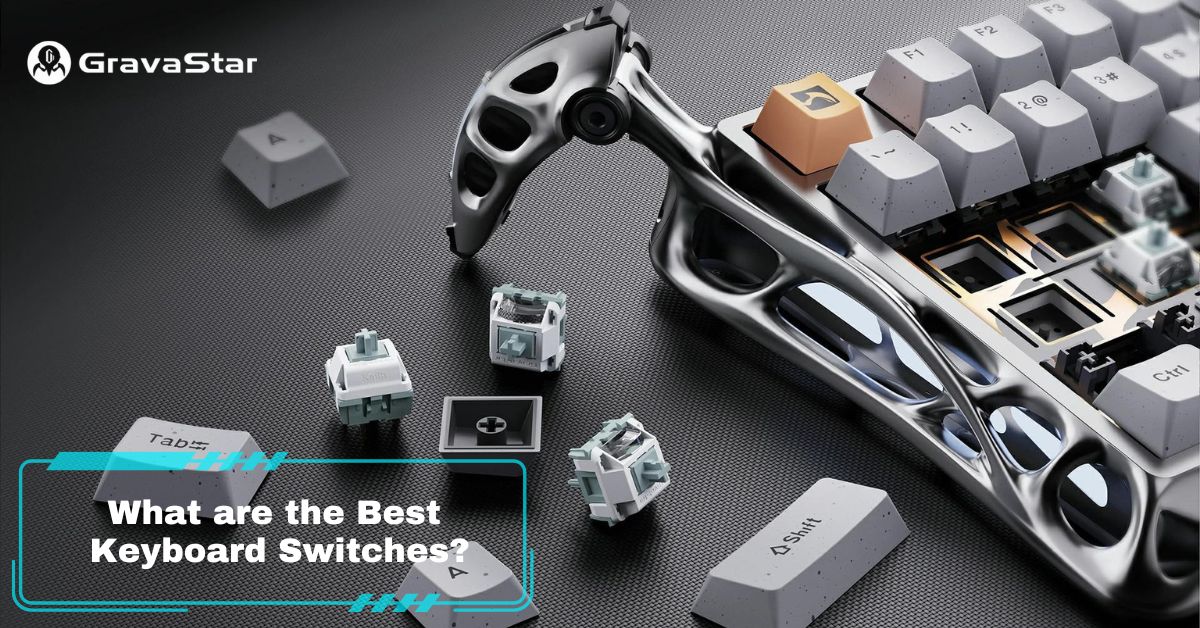
As you probably know, a mechanical keyboard is a special type of keyboard that registers your keystrokes using individual mechanical switches. Removable plastic keycaps attach to the top of each mechanical switch, and some 'hot-swappable' keyboards even let you remove the switches themselves.
This differs from the membrane keyboard design used in laptops and basic office keyboards. A membrane keyboard uses a single piece of soft plastic or rubber that flexes under each key, completing the circuit and sending input to your computer.
This guide is for mechanical keyboards only!
Why is Cleaning a Mechanical Keyboard Important?
Prevents Accumulation of Dirt and Debris
Unless you live in an industrial clean room, dirt will build up on your keyboard after a few months of use. Dust, pet hair, crumbs, and other junk will eventually make your fancy mechanical keyboard look like it belongs in the garbage.
Maintains Optimal Performance
You don't want to lose a match because a piece of Flamin' Hot Cheeto got stuck under the jump key, or accidentally close an app without saving because the Ctrl key gets jammed. Finger oils can also make your keycaps feel slippery, which can cause typos and slow your typing speed.
Improves Hygiene and Reduces Bacteria
Hands tend to get dirty, and that dirt gets transferred to and from your keyboard. It's not a nice thought, but dirty keyboards can become reservoirs of bacteria that could make you sick. A clean keyboard will help reduce bacterial spread, especially in a shared home or office space.
Extends Keyboard Lifespan
Besides looking good and keeping you healthy, a well-maintained keyboard will usually last longer. Removing debris before it gets into the switches or keyboard housing will keep your keyboard working at its best for years to come.
What Materials Do You Need for Cleaning?
- Keycap puller
- Soft-bristled brush or toothbrush
- Microfiber cloth
- Compressed air or air blower (optional)
- Isopropyl alcohol (70% or higher)
- Cotton swabs
- Lint-free cloth
- Small bowl
- Mild dish soap
- Towel
How Do You Prepare for Cleaning?
Preparing your keyboard for cleaning is crucial so the process goes smoothly and the keyboard doesn't get damaged.
Unplug the Keyboard
If your keyboard is a wired model, unplug it from your computer. If it's wireless, unplug it from any power source used for charging. Remove any USB devices attached to pass-through ports.
Remove Any Batteries
If you are using a wireless mechanical keyboard, remove any batteries. If your keyboard uses an internal rechargeable battery, make sure it is fully powered off.
Take a Reference Photo of Your Keyboard Layout
Grab your smartphone and take a quick snapshot of the keyboard layout. This will make it much easier to replace all your keycaps in the correct position. It's also nice to see a before and after shot of your hard work!
Choose a Well-Lit, Clean Workspace
Proper lighting will help you see all the areas that need your attention. Make sure you also choose a clean work area, or you might make your keyboard dirtier instead of cleaner.
Gather All Necessary Cleaning Tools
Collect all the tools you need for the cleaning process and arrange them within easy reach in your chosen workspace.
How to Clean a Mechanical Keyboard
1. Remove the Keycaps
Use your keycap puller to remove all the keycaps from your keyboard. Don't apply too much force to the keycaps. They should slide off the stem of each switch with a gentle upward pull.
Place each keycap directly into your cleaning bowl so you don't lose any!
2. Clean the Keycaps
Add a few drops of mild dish soap to your bowl, then fill it with warm water. Gently swirl or stir the contents to distribute the soap evenly.
Soak the keycaps for 30 minutes, then scrub each one gently with a soft brush. Rinse each keycap with clean water and place them on a towel to air dry. Arrange the keycaps legend-side up so any remaining water will drain out.
3. Clean the Keyboard Body
Brush away any loose debris. Use a lint-free microfiber cloth to remove more stubborn smudges and spills. If necessary, moisten your cloth with a very small amount of water first. Don't use too much, or you could damage the electrical components.
Some people use compressed air to clean the keyboard body, but too much air pressure can force small dirt particles into your mechanical switches. Compressed air can also help clear dirt from stuck switches,
4. Clean Between the Keys
Finally, use a cotton swab and a small amount of isopropyl alcohol to clean between each switch. Take care around the switches and stabilizers, and try not to miss any of those hard-to-reach spots.
Considerations for Cleaning a Mechanical Keyboard
When Should You Consider “Wet Cleaning”?
Water and electronics do not mix, so "wet cleaning" should only be used with extreme caution for stubborn stains, spills, and excessive dirt build-up. Never spray or immerse a keyboard in water, even if you saw it in a YouTube video.
What Cleaning Solutions Are Safe to Use?
Harsh chemicals can damage your keyboard finish and wear away legends. Stick to isopropyl alcohol (70% or higher) or mild dish soap mixed with water. Specialized cleaning products designed for keyboards are also safe.
How Do You Properly Dry Keyboard Components?
Air dry your keyboard components on a dry towel in a well-ventilated area, away from direct sunlight or other heat sources. Make sure that water cannot pool in seams or small spaces. Wait until each part is completely dry before reassembling your keyboard.
What is Ultrasonic Cleaning and How Does It Work?
Without getting too technical, ultrasonic cleaning uses sound waves to agitate a cleaning fluid. This process can remove material stuck to an object without any manual effort for fast, thorough cleaning. Unfortunately, it may also remove the legends from some types of keycaps. You can learn more about ultrasonic cleaning on Wikipedia.
How Do You Reassemble the Keyboard?
Check for Dry Components
Carefully inspect each keycap to ensure no water droplets are trapped in the interior corners or stems. Your keyboard body should also be completely dry before starting the reassembly process.
Check Your Photo
If you're not sure about your key placement, check the reference photo that you took earlier ( you did take one, didn't you? ;-) )
Examine and Align Keycaps
Look at the stem opening on the underside of each keycap. In most switch designs, it is shaped like a small 'plus' sign. Align the keycap opening with the switch stem.
Apply Gentle Pressure
Press gently downward on the keycap until you've completed a full keypress. Press straight downward along the stem to avoid damaging any components.
Essential Maintenance Tips for Your Mechanical Keyboard
How Often Should You Clean Your Keyboard?
The simple answer is that you should clean it whenever it gets dirty. Some people can get away with cleaning every few months, while others may need to clean their keyboards every few weeks. If the keyboard is in shared use, you may want to clean it weekly.
How Can You Prevent Dust and Debris Buildup?
Try to keep the area surrounding your keyboard as clean as possible. Avoid eating or drinking at the keyboard, and move it out of the way if your pet decides to visit you at the computer.
How Should You Store Your Keyboard?
If your keyboard will not be in use for a while, it's a good idea to protect it from dust. If you still have it, you can use a dust cover or return it to its original packaging. If not, a simple plastic bag should be enough to keep it clean in storage.
How Do Different Keyboard Switches Affect Cleaning?
The most common switch types—tactile, linear, and clicky—do not impact the cleaning process. Some specialized switch types may require unique cleaning methods, so refer to the manufacturer's instructions.
Common Mistakes to Avoid When Cleaning a Keyboard
Using Excessive Liquid
Never use too much water or cleaning solution when cleaning your keyboard, as this can damage electrical and mechanical components.
Neglecting to Unplug the Keyboard
Failing to unplug the keyboard before cleaning can result in unwanted keyboard input or damage to its electronic components.
Forcing Keycaps or Switches
You can remove and replace keycaps with very little force. Too much force will damage your keycaps, switches, or both.
Using Abrasive Cleaning Materials
Abrasive cleaning materials can damage the finish of your keyboard and wear away the legends on your keycaps.
Troubleshooting Issues After Cleaning
Addressing Sticky Keys
Sticky switches will cause sticky keys. Grab your can of compressed air and direct the flow into the stuck switch. Actuate the switch a few times while spraying to loosen any debris trapped inside.
Fixing Unresponsive Switches
Unresponsive switches usually need to be replaced. Some mechanical keyboards have 'hot-swappable' switches that can be removed with a switch puller, but others require desoldering to replace a switch.
Dealing with Water Damage
Extensive water spills may permanently damage the electrical components inside the keyboard. Unless you have advanced knowledge of microelectronics, it's usually simpler to purchase a replacement.
How to Clean a Mechanical Keyboard | FAQs
Can I Clean My Keycaps In the Dishwasher?
No, you cannot put your keycaps in the dishwasher. Dishwasher detergents often use harsh abrasives to clean dishes, which will scratch your keycaps, ruin the finish, and wear away the legends.
Dishwashers also use high-pressure water jets to remove food residue. These jets are powerful enough to tumble your keycaps around inside the machine, which can cause breakage. Broken keycap pieces may become stuck in your dishwasher or plumbing.
Can I Clean My Mechanical Keyboard Without Removing The Keycaps?
Yes, you can clean your mechanical keyboard without removing the keycaps, but it is tedious and less effective. It is much simpler to become familiar with the process of removing the keycaps, cleaning each part, and reassembling the keyboard. After you've done it once, the next cleaning job will go much faster.
Is It Safe To Use A Vacuum Cleaner To Clean My Mechanical Keyboard?
You can use a vacuum cleaner to clean a mechanical keyboard, but it has some risks:
- Lost keycaps. Most keycaps are not firmly attached, so a powerful vacuum may pull them off the switches. Trust me - you don't want to sift through your vacuum's dust and debris for a missing keycap!
- Static shock. Some vacuums may also cause an electrostatic discharge during or after use, which can damage electrical components.


Leave a comment
This site is protected by hCaptcha and the hCaptcha Privacy Policy and Terms of Service apply.